Devil’s Bridge in Sedona, Arizona is an iconic natural sandstone arch with panoramic views of red rocks and green ponderosa forests. Hiking to Devil’s Bridge is popular activity for those hoping to snap a photo of themselves standing on top of the towering arch. It’s no surprise that most visitors consider it to be one of the must see sights in Sedona. While this popular 3.6 mile trail is heavily trafficked year round, it shouldn’t be missed especially if you only have time for one hike on your visit to Sedona.
Directions: From central Sedona, drive west out of the city on AZ-89A until you reach Dry Creek Road. At the traffic signal, turn right and continue up Dry Creek Road. After two miles, turn right onto Forest Road 152. This road is also called Dry Creek Road but for this guide, I will call it Forest Road 152 to avoid confusion.
Parking: If you do not have a four-wheel drive vehicle with high clearance, then you can park at the small parking lot located at the Dry Creek Vista Trailhead. If this lot is full, which it often is, then you will have to turn around and head back down the way you came where you can park off Dry Creek Road. Parking off the main road will add an additional 0.2 miles a way to your hike.
If you have a four-wheel drive vehicle with high clearance, you can drive along the rocky, uneven Forest Road 152. After one mile, you will reach a turnoff on the right where you will find a dirt parking lot that leads to Devil’s Bridge Trailhead.
Water: Even though the hike is not as long as others in Sedona, it is important to stay hydrated, especially on a trail with limited shade. All hikers should carry at least one gallon of water with them, possibly more in the hotter summer months.
Best time to go: The best time to hike is in the early morning before the crowds arrive in masses. This is also true in the summer months when the temperature can reach 100 degrees by 10:00AM. I recommend starting your hike, or at least parking, by sunrise especially on weekends. The earlier the better.
How to get to Devil’s Bridge Trailhead
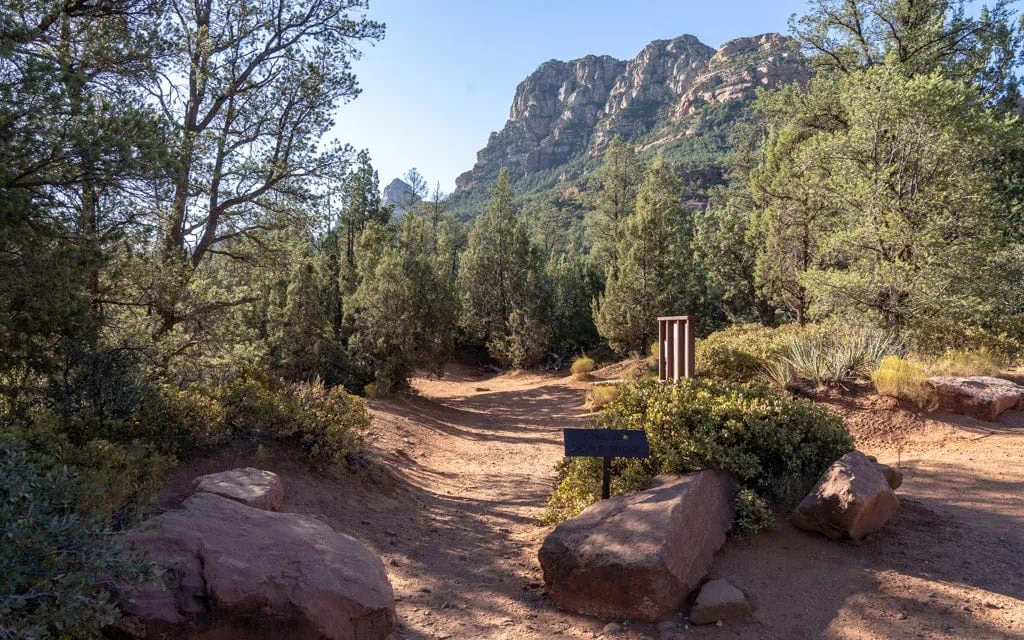
Devil’s Bridge Trailhead
The first step is reaching Devil’s Bridge Trailhead. To reach the trailhead, you will need to take one of three routes or trails, whether hiking or driving. Once at the trailhead, its a quick but steep 0.8 mile hike up along Devil’s Bridge Trail.
Devil’s Bridge Trail Map
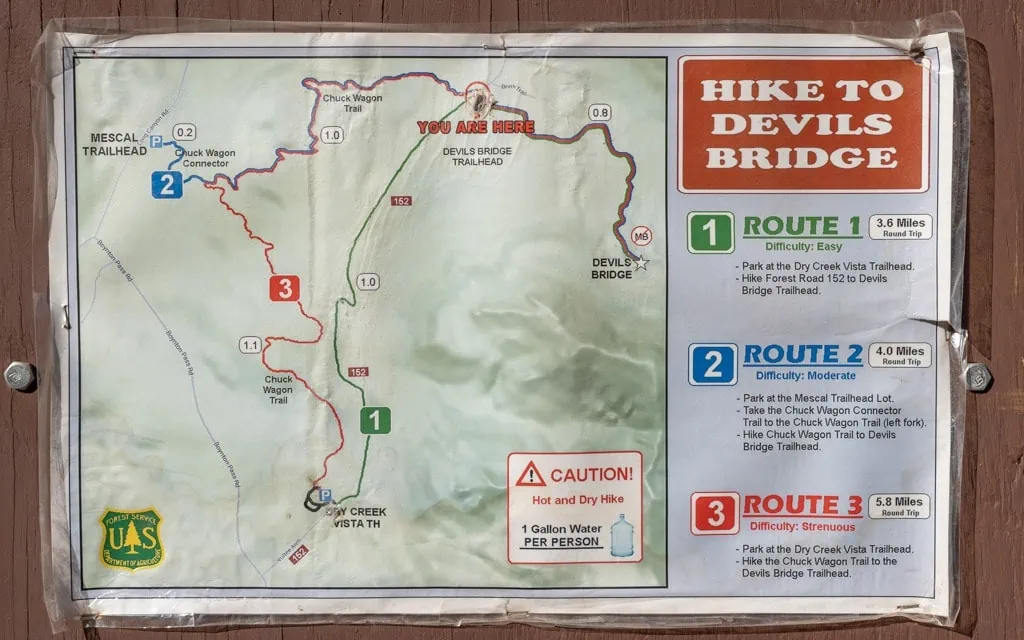
Map of Devil’s Bridge Trails
Route 1 (Green) – This easy trail is 3.6 miles round trip. The hike begins at Dry Creek Vista Trailhead. On this route, you will hike along Forest Road 152 for one mile until you reach the turnoff for Devil’s Bridge Trailhead. From here, take Devil’s Bridge Trail 0.8 miles to reach the bridge. If you have a four-wheel drive vehicle with high clearance, you can drive instead of hike the one mile section of Forest Road 152.
Route 2 (Blue) – This moderate trail is 4 miles round trip. The hike begins at Mescal Trailhead.
On this route, you will first hike along Mescal Trail for 0.2 miles. At the Chuck Wagon Connector, take the fork to the left and continue along Chuck Wagon Trail for one mile until you reach Devil’s Bridge Trailhead. From here, take Devil’s Bridge Trail 0.8 miles to reach the bridge.
Route 3 (Red) – This strenuous hike is 5.8 miles round trip. The hike begins at Dry Creek Vista Trailhead. On this route, you will hike along Chuck Wagon Trail for 2.1 miles until you reach Devil’s Bridge Trailhead. rom here, take Devil’s Bridge Trail 0.8 miles to reach the bridge.
So you are probably wondering, which route should I take? If this is your first time, I would recommend Route 1 as this is the easiest and most commonly used trail. If you want more of a challenge, or to get away from some of the crowds, then Route 2 or Route 3 might be something to consider. For the purposes of this guide, I will focus on Route 1.
Devil’s Bridge Trail via Forest Road 152 (Route 1)
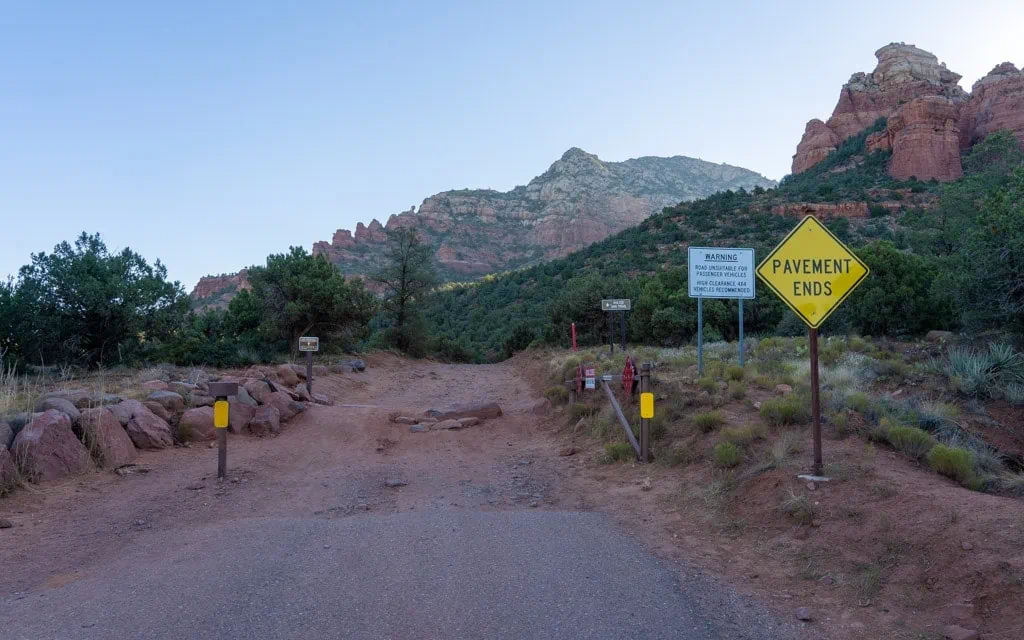
Only vehicles with high clearance should drive past this point
The trail officially begins at the Pavement Ends sign near the Dry Creek Vista Trailhead parking lot. From here, it is one mile to the cutoff on the right for Devil’s Bridge Trailhead and from here, 1.8 miles to the bridge.
If you are planning to drive the first section, you will choose Option 1. Otherwise, skip to Option 2.
Option 1: Driving along Forest Road 152
If you don’t have a four-wheel drive vehicle, you can skip to Option 2.
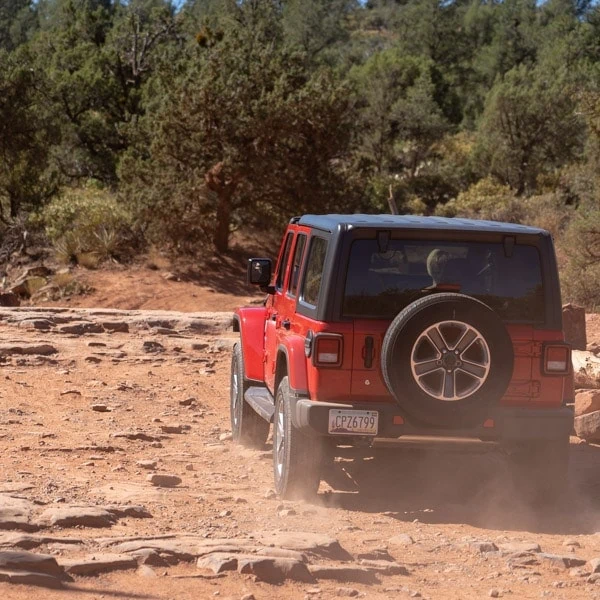
If you are driving a four-wheel drive vehicle with high clearance, if you choose, you can drive directly to Devil’s Bridge Trailhead by driving one mile along Forest Road 152.
The road ahead is bumpy, rocky, uneven, and steep in some places, so be prepared. Due to its popularity, the road is often busy with hikers, so be cautious of your speed. I would not recommend driving on this road if it is raining or snowing.
Option 2: Hiking along Forest Road 152
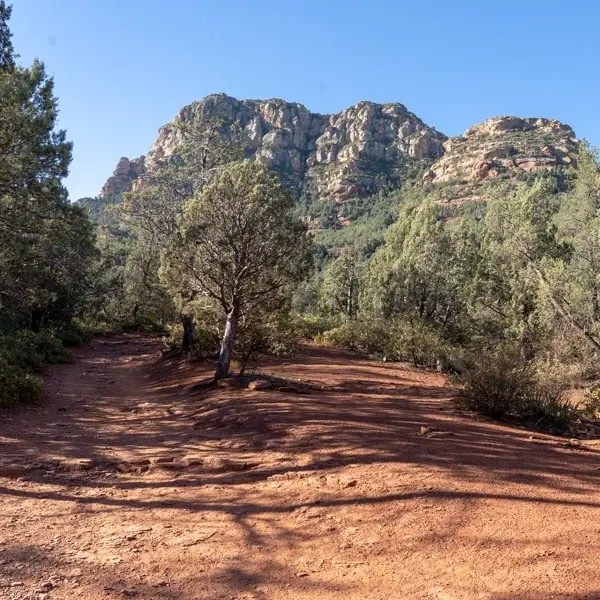
Hiking along Forest Road 152 (Dry Creek Road)
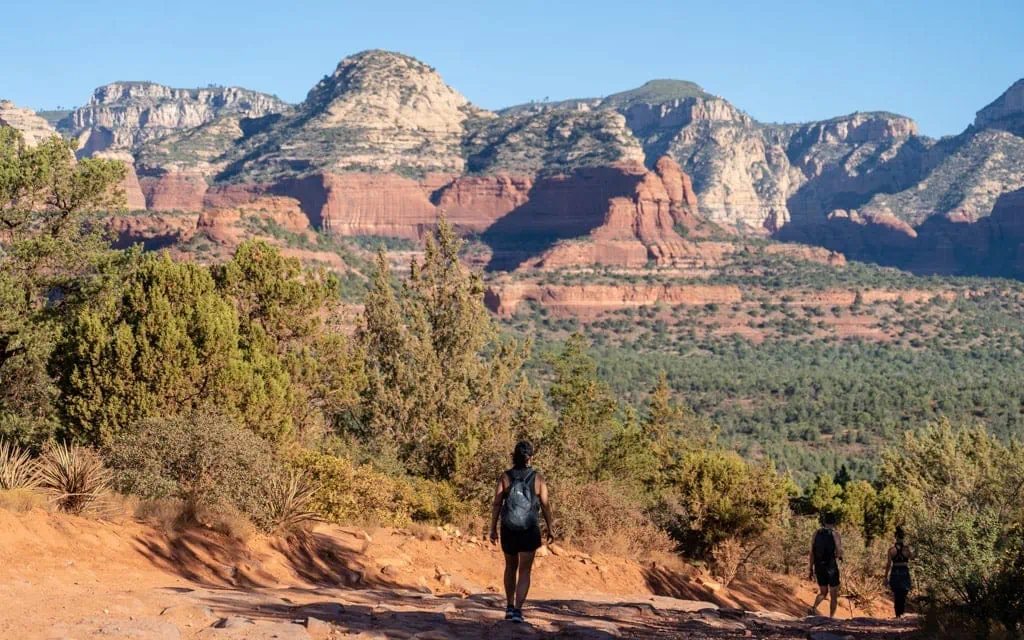
The most popular way to reach Devil’s Bridge Trailhead is by hiking along Forest Road 152. While you can drive this section, there was something special about hiking it. When I hiked the trail, I was amazed by all of the beauty Sedona had to offer. Around every corner was another amazing view of the mountains, red rocks, and forests. I couldn’t stop taking photos. Even if you have a vehicle that can tackle this road, I highly recommend you hike it, especially if it’s your first time.
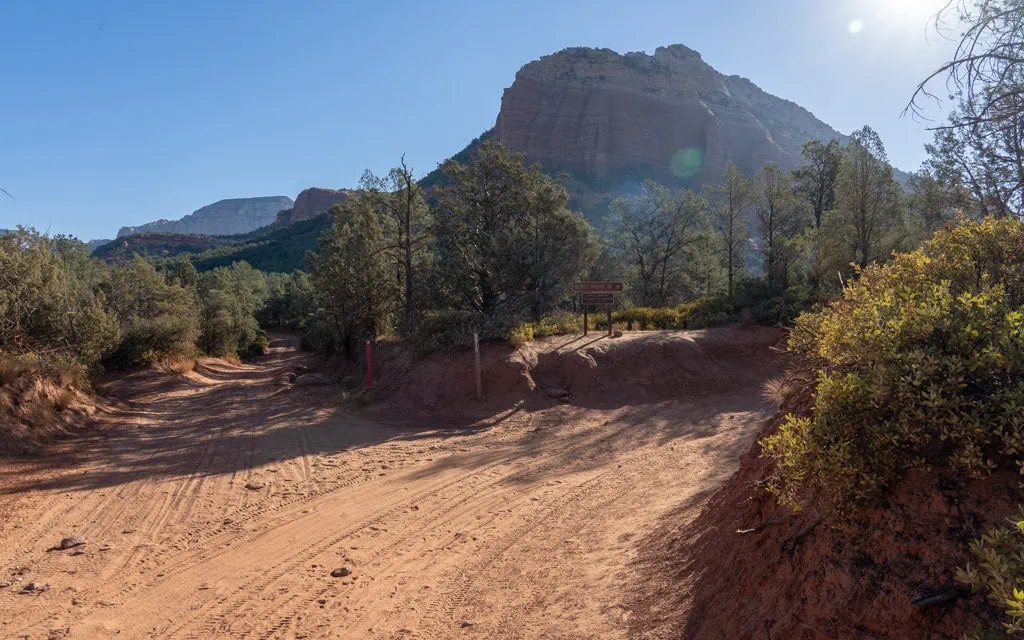
Cutoff towards Devil’s Bridge Trailhead
Whether you drive or hike, after one mile you will reach a turn off on the right with a sign that reads DEVILS BRIDGE TR.. Take the cutoff to the right. Continue past the dirt parking where you will find Devil’s Bridge Trailhead.
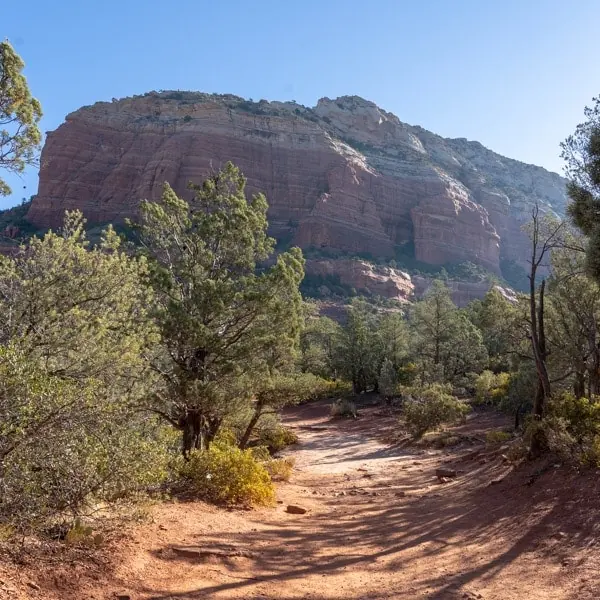
Hiking Devil’s Bridge Trail
After departing from Devil’s Bridge Trailhead, you will now be on Devil’s Bridge Trail. Whether you drove or hiked to the trailhead, you will now need to hike the final 0.8 miles uphill to reach the bridge.
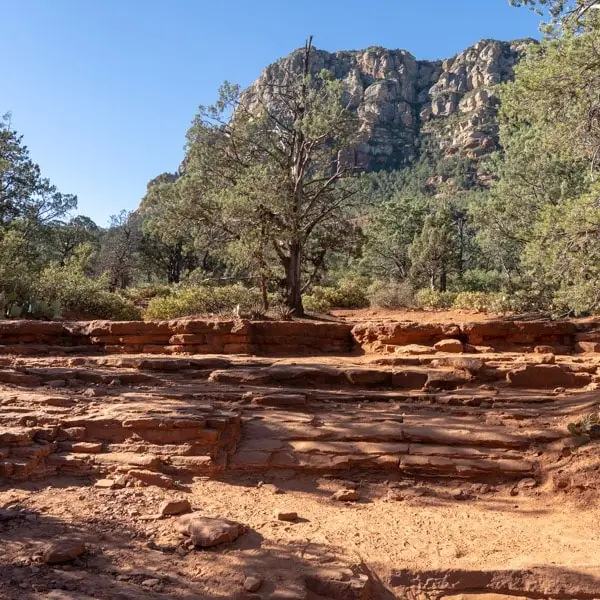
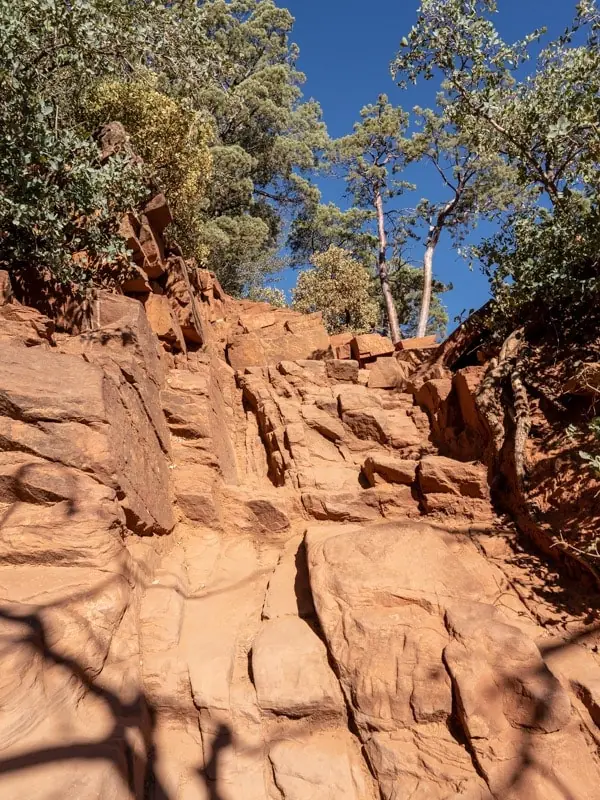
Originally a Jeep trail, the first half of the trail remained quite wide and smooth as it gently climbed uphill past juniper trees and prickly pear cactus. As I made my way uphill, the trail started to narrow and became steeper with rocky patches.
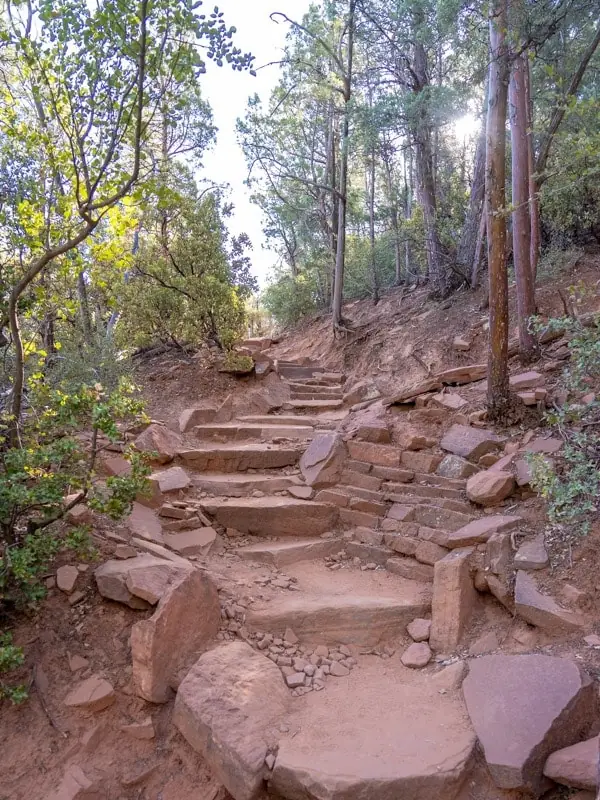
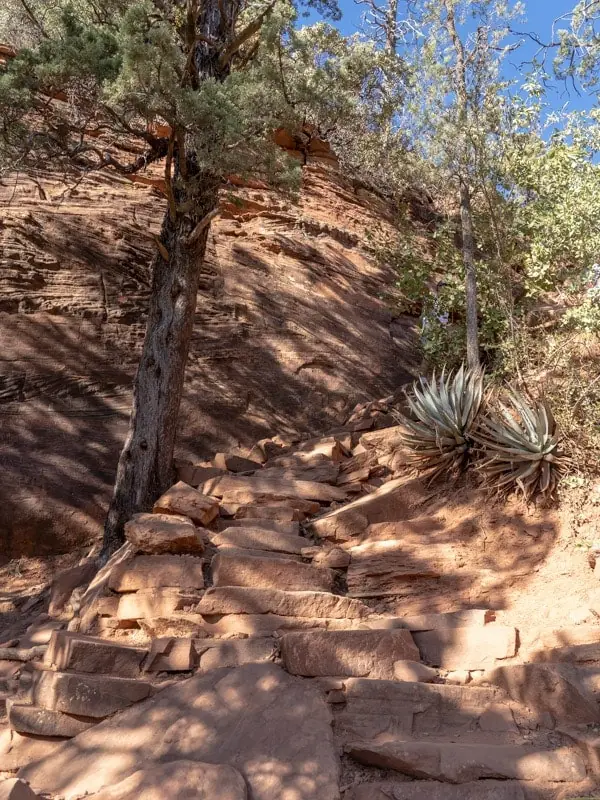
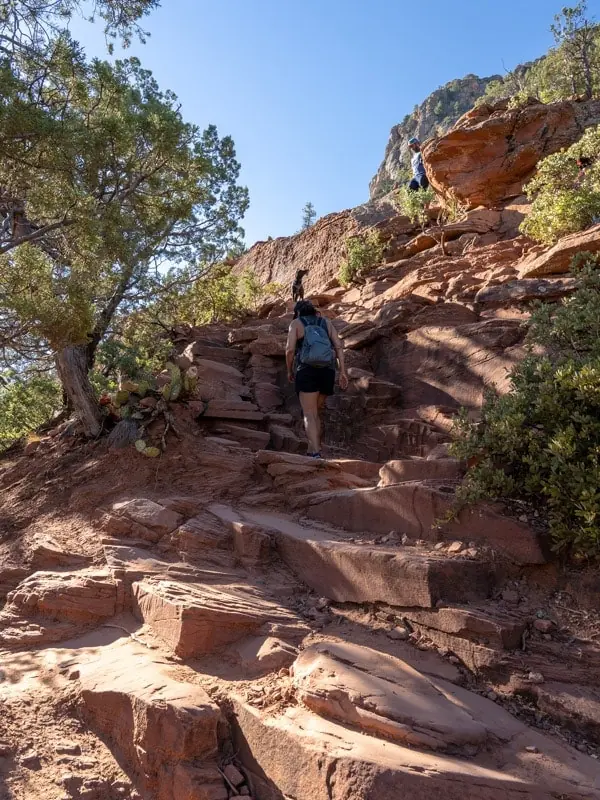
The second half of the trail was the most challenging and steepest as the trail climbed up the mountain. In this section, I encountered several sections of steep, rocky steps which at certain points required me to use my hands. While this section gave me a great workout, it was short and not too difficult.
Arrival at Devil’s Bridge
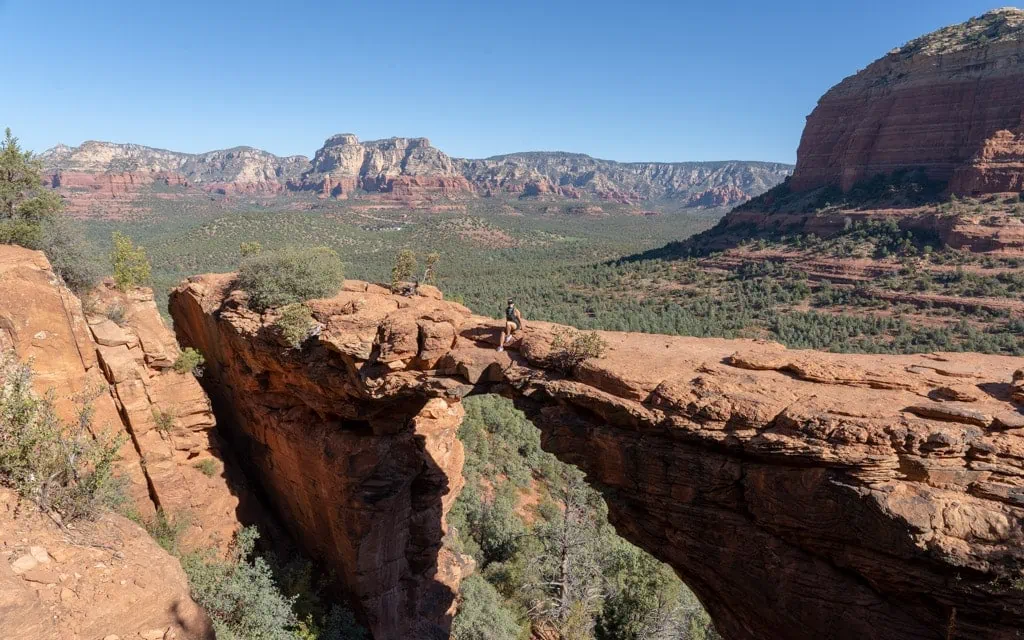
Arrival at the arch
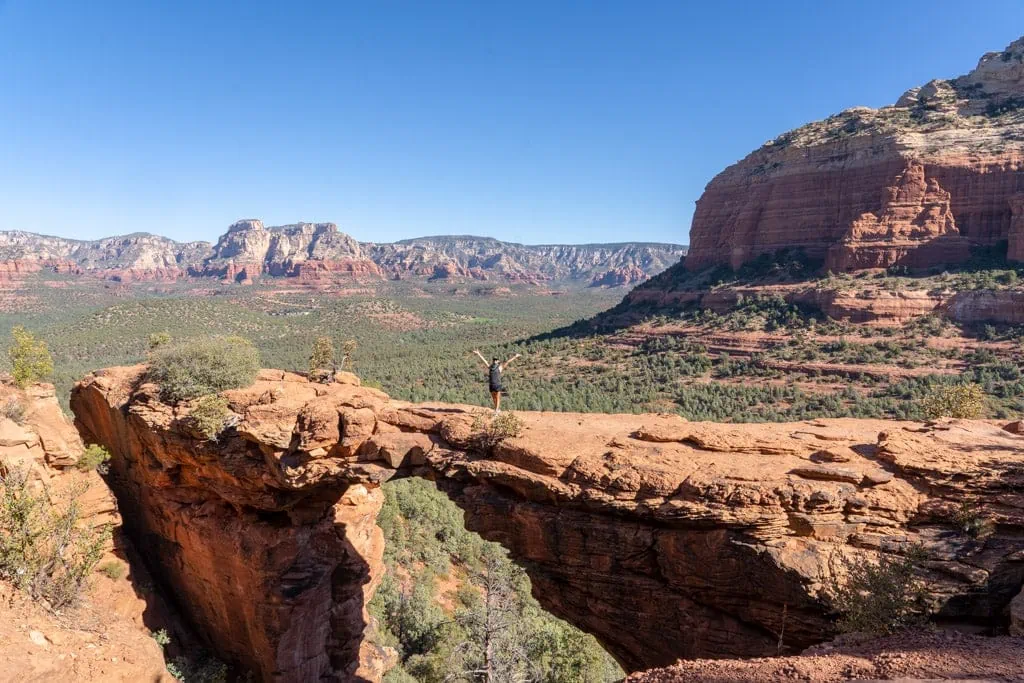
After the quick, steep climb up the trail, I finally made it to Devil’s Bridge. The view of the arch and the surrounding area was breathtaking. It was at this moment I knew it was worth all the trouble of getting up early and taking this hike.
Getting your Photo Taken on Devil’s Bridge
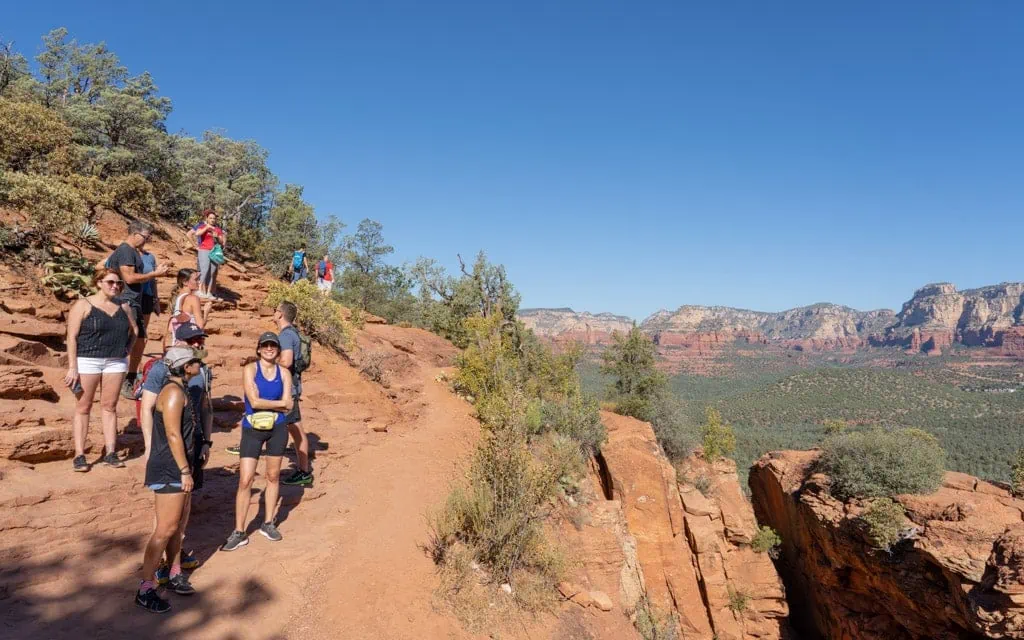
Waiting in line for the iconic Devil’s Bridge photo
No visit to Devil’s Bridge is complete without taking a photo on top of the largest natural sandstone arch in Sedona. While standing out on the arch might look intimidating, especially for those who have a fear of heights, I promise it isn’t as bad as it looks. The arch is actually wider than you would think. So, make sure to get that special photo.
With Devil’s Bridge being so popular, you can always expect there to be a line of people waiting to take photos. On my visit, it wasn’t too busy and the wait was about 15 minutes. The earlier you go, the better chance you will have of a shorter wait. When it is your turn, give your camera or phone to someone you trust. Walk out onto the arch and enjoy the view.
When you are ready to leave, take the same trail back down to the trailhead.