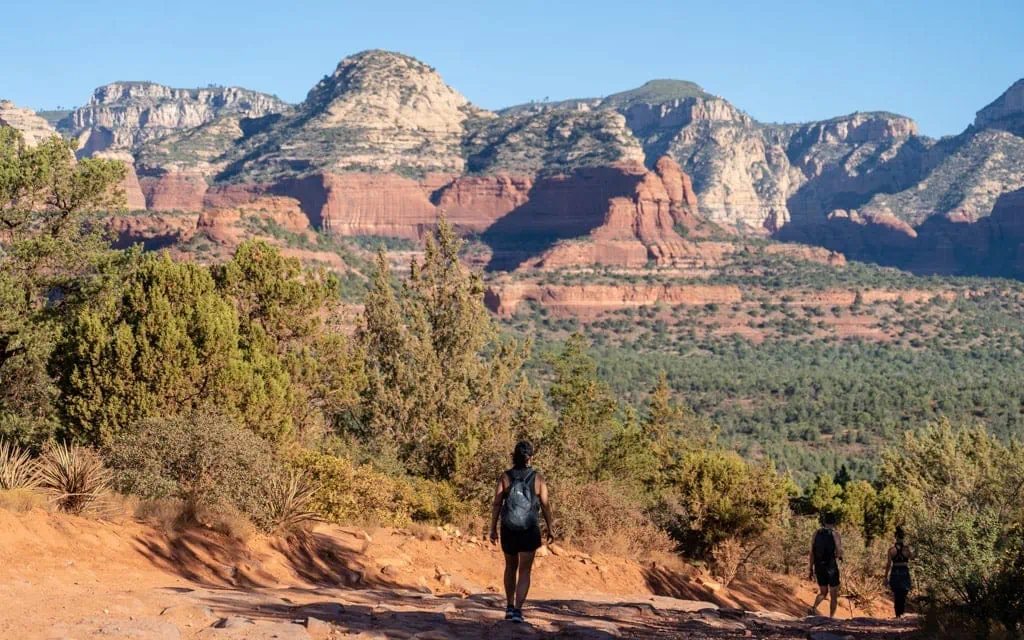
Devil’s Bridge in Sedona, Arizona is an iconic natural sandstone arch with panoramic views of red rocks and green ponderosa forests. Hiking to Devil’s Bridge is a popular activity for those hoping to snap a photo of themselves standing on top of the towering arch. It is no surprise that most visitors consider it to be one of the must-see sights in Sedona.
While this popular hike ranges from 4.2 to nearly 6 miles round trip depending on your route, it shouldn’t be missed (especially if you only have time for one hike on your visit to Sedona).
For first-time visitors, reaching the arch is fairly easy but there are a few things you should know before starting your hike. This guide will help you through your journey.
- Distance: 4.0 miles round trip (scenic Route 2), ~4.2 miles round trip (Route 1), or 5.8 miles round trip (Route 3)
- Difficulty: Moderate, with a short steep climb near the end
- Crowds: Expect lines for photos at peak times
- Best time: Sunrise for cooler temps and easier parking
Hiking Basics
Getting There
Since there are two ways to hike this trail, you have two different driving destinations.
Option 1: Mescal Trailhead (Recommended)
From central Sedona, drive west on AZ-89A to Dry Creek Road. Turn right and drive approximately 3 miles. Turn right onto Long Canyon Road. The Mescal Trailhead parking area is about 0.2 miles ahead on the right. This is the start of the scenic route I recommend.
Option 2: Dry Creek Vista Trailhead
From central Sedona, drive west on AZ-89A until you reach Dry Creek Road. At the traffic signal, turn right and head up Dry Creek Road for two miles until the pavement ends at the parking lot. This is the start of the jeep road route.
Parking & Shuttle
Here is the honest situation regarding parking. Both the Mescal and Dry Creek lots are small and often fill up by 6:00 AM.
If you miss that early window, I recommend heading to the West SR-89A Park & Ride at 905 Upper Red Rock Loop Road. From there, take Sedona Shuttle Route 11.
This free service runs Thursday through Sunday (and daily during Spring Break), plus some holiday and supplemental dates. Be sure to check their official Holiday and Supplemental Service Calendar for specifics. The best part is that Route 11 stops at both the Dry Creek and Mescal trailheads, so you can still use the shuttle to access my recommended route.
Bonus Tip: The Park & Ride itself does not require a Red Rock Pass. However, if you choose to park at a Forest Service fee site (including many trailheads), you will need to display a valid pass (such as the Red Rock Pass or an America the Beautiful pass), unless that site is fee-free that day.
Important Note: Shuttle routes and stops can change seasonally. If you are hiking Devil’s Bridge, confirm the current Route 11 stops (and any summer safety schedule changes) before you go.
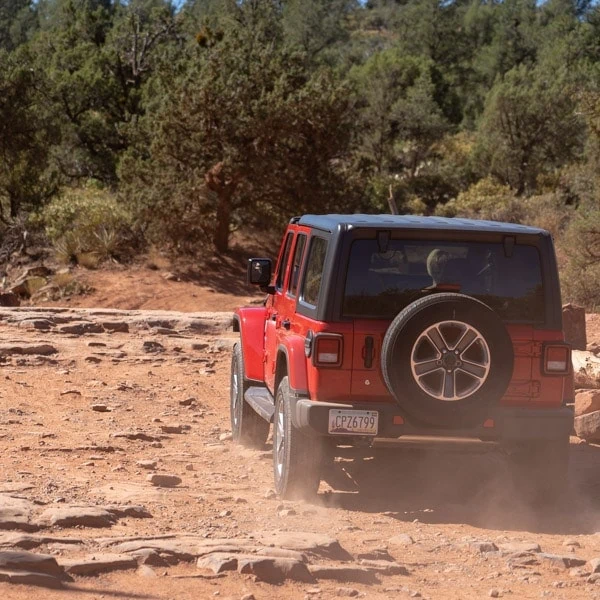
For 4×4 Drivers
If you have a high-clearance four-wheel-drive vehicle, you can bypass the shuttle and drive directly down the rocky Forest Road 152 (accessed via Dry Creek Road). After about 1.3 miles, you will see a dirt parking lot on the right that services the Devil’s Bridge Trailhead. Please do not attempt this in a sedan. You will likely damage your car.
Water & Safety
Do not let the shorter mileage fool you. The heat here is a serious danger, and rescues are common during the warmer months. Shade is very limited on this trail. You should carry at least one gallon of water per person. If you are hiking in the summer, carry even more.
Best Time to Go
Sunrise is your best bet. It is the only reliable way to secure parking without a shuttle and to beat the heat. In the summer, temperatures can hit 100 degrees by 10:00 AM. You need to be off the trail by noon during peak heat, so the earlier you start, the better.
How to get to Devil’s Bridge Trailhead
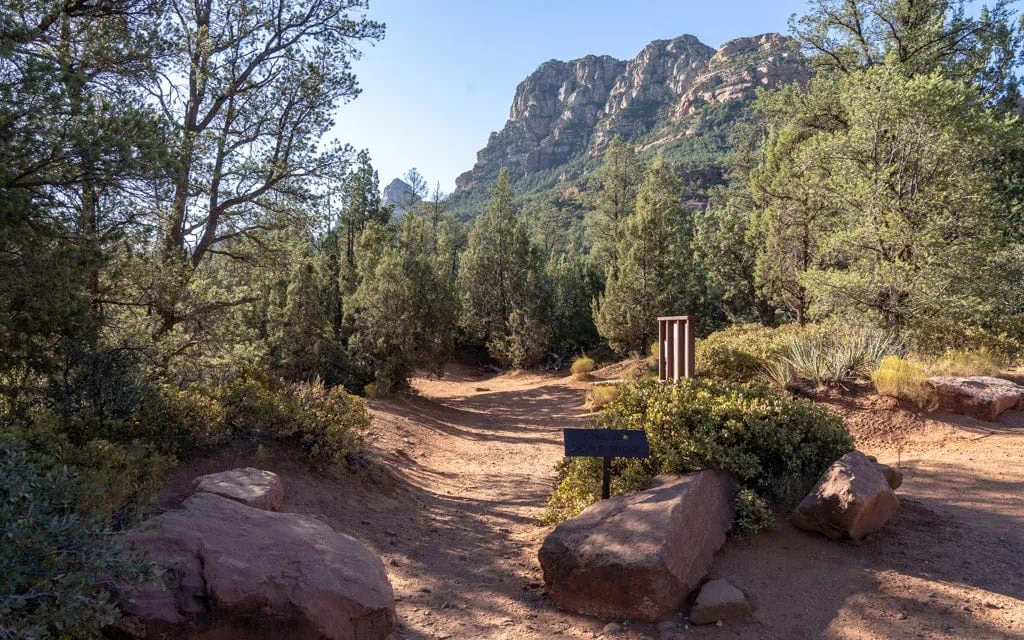
The first step is reaching the actual trail system. You have two primary starting points. Both are served by Route 11 when shuttle service is running.
Option A (Recommended): Mescal Trailhead
This route takes you along a scenic single-track trail through the forest. It offers better views and more shade. It also keeps you away from the dusty Jeep road.
Option B: Dry Creek Vista Trailhead
This is the main lot, but the hike from here follows Forest Road 152. That is a wide, rocky dirt road shared with 4×4 vehicles. Expect vehicle traffic and dust, especially at peak times.
Once you connect to the main trailhead from either of these approaches, it is a quick but steep 0.8 mile hike up along Devil’s Bridge Trail.
Devil’s Bridge Trail Map
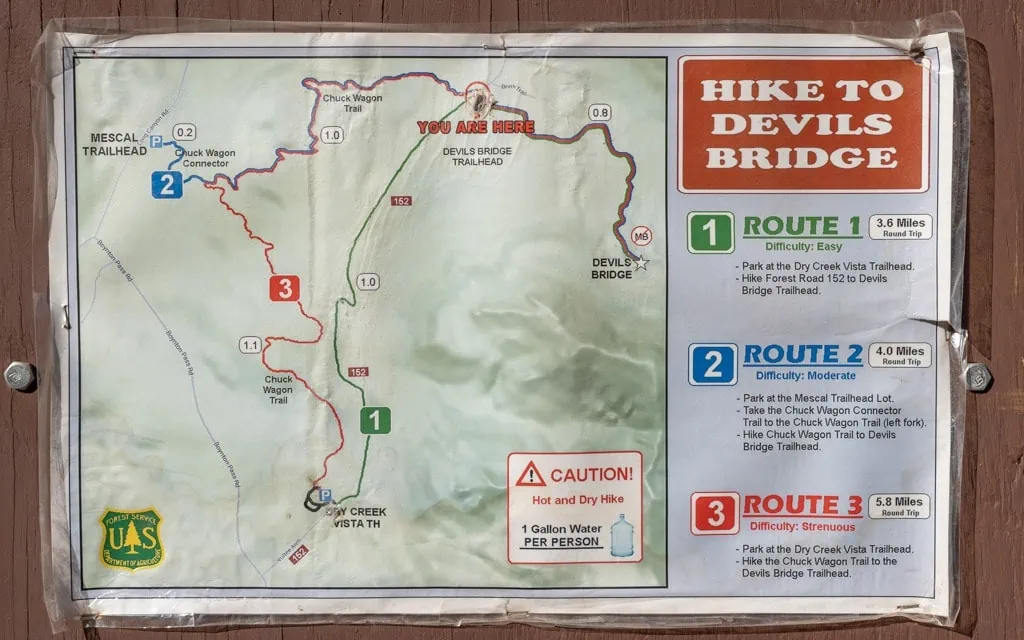
Route 1 (Green) – The Jeep Road
This route is about 4.2 miles round trip (varies slightly by where you park) and begins at the end of the paved Dry Creek Road (Dry Creek Vista area). It follows Forest Road 152. While it is the shortest route, it involves walking on a wide, rocky road often kicked up with dust from Pink Jeep tours. It is functional but not pretty. If you have a four-wheel drive vehicle with high clearance, you can drive this section instead of hiking it.
Official Warning: Forest Road 152 is a popular unpaved 4×4 route and is not recommended for pedestrian use due to vehicle traffic and dust. Proceed with caution.
Route 2 (Blue) – The Scenic Route (Recommended)
This moderate trail is 4.0 miles round trip and begins at Mescal Trailhead. You will hike along the Mescal Trail to the Chuckwagon Trail. This is the better choice for hikers. It offers red rock views and juniper forests before joining the main climb.
Insider Tip: If you take the recommended Route 2, do not look for signs that say “Devil’s Bridge” right away. You must first follow signs for Mescal and then Chuckwagon. You will not see a sign for Devil’s Bridge until you meet up with the main trail about a mile in.
Route 3 (Red) – The Long Way
This strenuous hike is 5.8 miles round trip. The hike begins at Dry Creek Vista Trailhead. On this route, you will hike along Chuckwagon Trail for 2.1 miles until you reach Devil’s Bridge Trailhead. From here, take Devil’s Bridge Trail 0.8 miles to reach the bridge.
Which route should you take?
If this is your first time, I strongly recommend Route 2 (Blue). It provides a true hiking experience rather than a walk down a dirt road. Only take Route 1 if you are pressed for time or are driving a high-clearance vehicle directly to the trailhead.
Devil’s Bridge Trail via Forest Road 152 (Route 1)
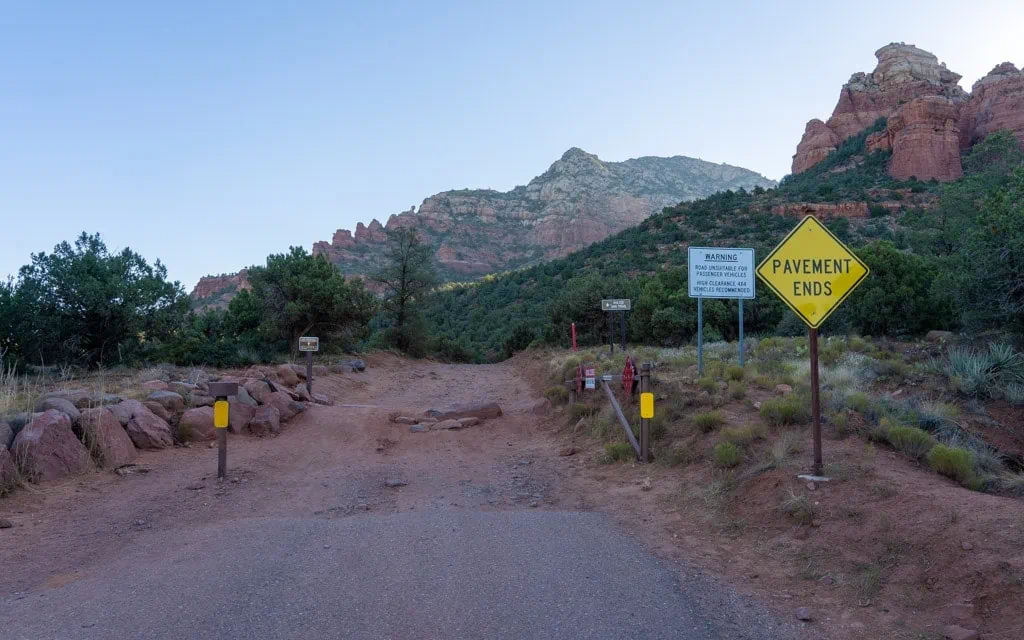
If you decide to take Route 1, the trail officially begins at the “Pavement Ends” sign near the Dry Creek Vista Trailhead parking lot. From here, you will hike along Forest Road 152 for 1.3 miles until you reach the cutoff on the right for the Devil’s Bridge Trailhead.
Once you reach that cutoff, you leave the wide dirt road. From there, it is only 0.8 miles of actual hiking trail to reach the bridge.
If you are planning to drive the first section, you will choose Option 1. Otherwise, skip to Option 2.
Option 1: Driving along Forest Road 152

If you do not have a four-wheel drive vehicle, you can skip to Option 2.
Wet Weather Warning: After rain or snow, FR 152 conditions can deteriorate quickly and vehicle access may be restricted. Check the current Forest Service’s Devil’s Bridge page and do not attempt the road in low-clearance vehicles.
If the gate is open and you decide to take Route 1, you can drive directly to Devil’s Bridge Trailhead using a high-clearance vehicle. This involves driving 1.3 miles along Forest Road 152.
The road ahead is bumpy, rocky, and uneven. It is also steep in some places, so be prepared. Due to its popularity, the road is often busy with hikers. Please be cautious of your speed. I would not recommend driving on this road if it is raining or snowing.
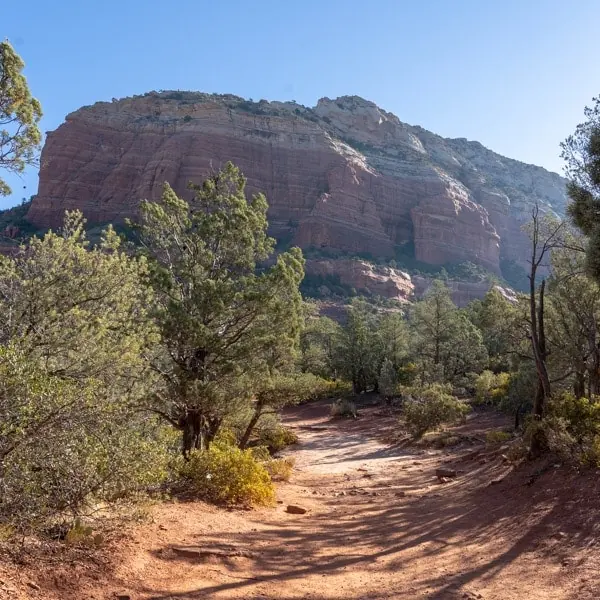
Option 2: Hiking along Forest Road 152
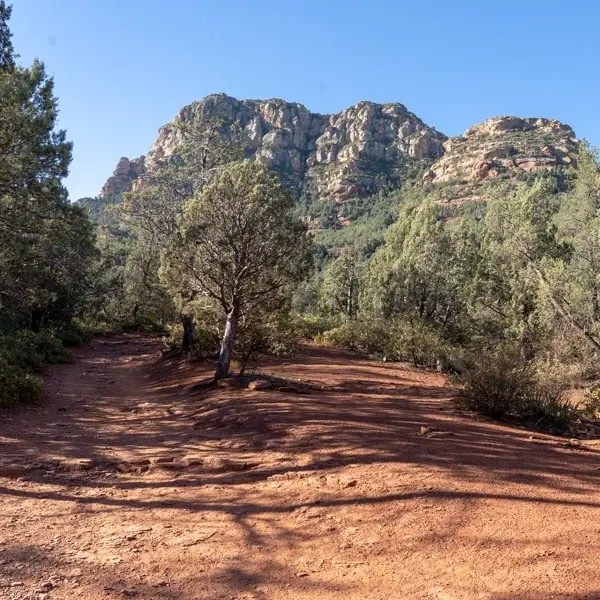
The most popular way to reach Devil’s Bridge Trailhead is by hiking along Forest Road 152. While you can drive this section, there was something special about hiking it. When I hiked the trail, I was amazed by all of the beauty Sedona had to offer. Around every corner was another amazing view of the mountains, red rocks, and forests. I couldn’t stop taking photos.
However, I highly recommend you hike this road only if you decide to take Route 1. Please be aware that you will be sharing this road with jeeps and other vehicles, so it can get quite dusty. If you have the choice, the Mescal Trail (Option A) described above is a far better experience.
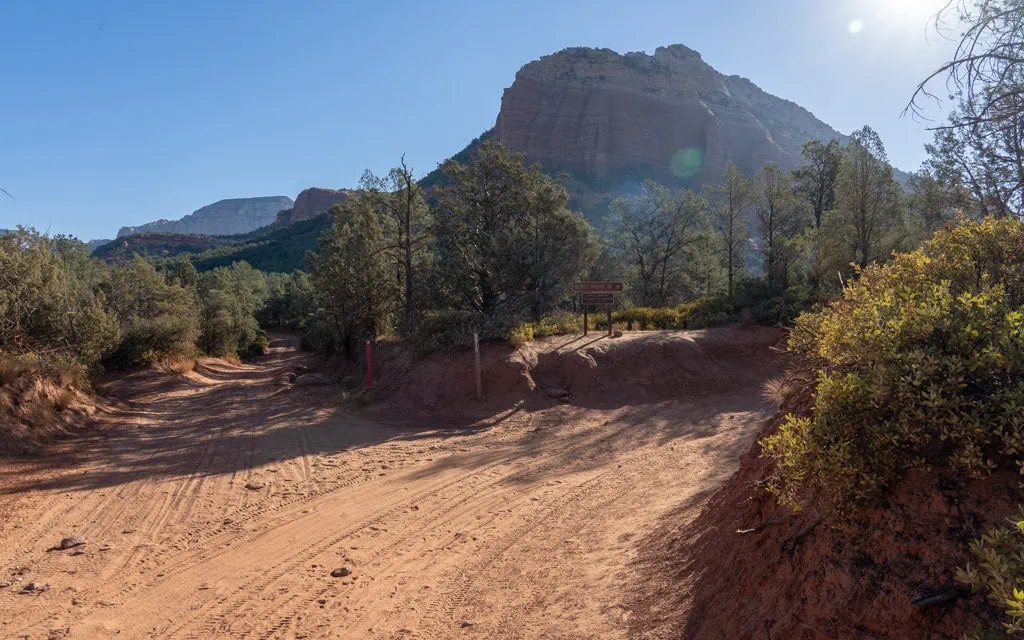
Whether you drive or hike, after 1.3 miles you will reach a turn off on the right with a sign that reads DEVILS BRIDGE TR.. Take the cutoff to the right. Continue past the dirt parking where you will find Devil’s Bridge Trailhead.
Hiking Devil’s Bridge Trail

After departing from Devil’s Bridge Trailhead, you will now be on Devil’s Bridge Trail. Whether you drove or hiked to the trailhead, you will now need to hike the final 0.8 miles uphill to reach the bridge.
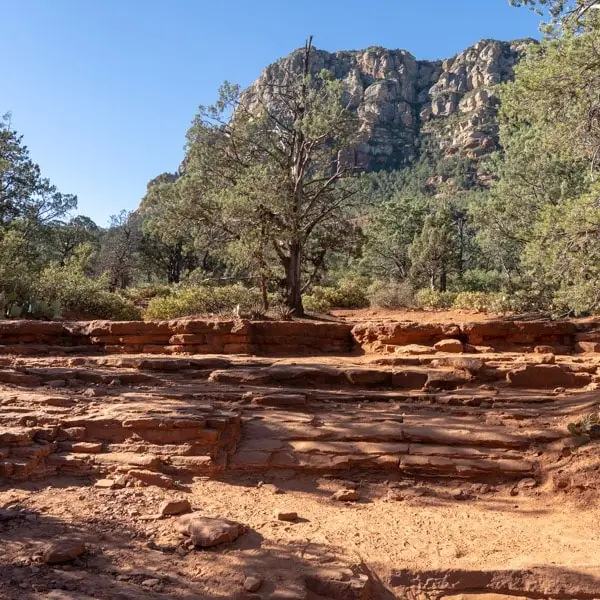
Originally a Jeep trail, the first half of the trail remained quite wide and smooth as it gently climbed uphill past juniper trees and prickly pear cactus. As I made my way uphill, the trail started to narrow and became steeper with rocky patches.
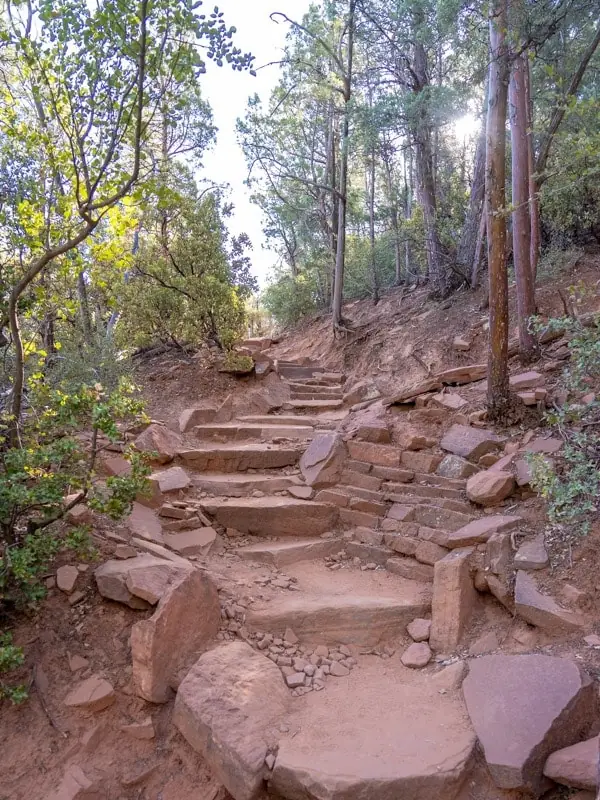
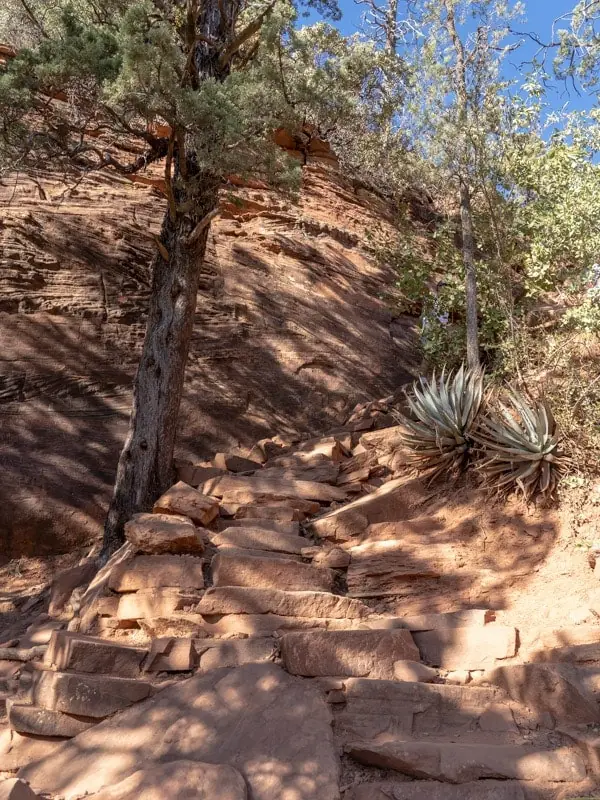
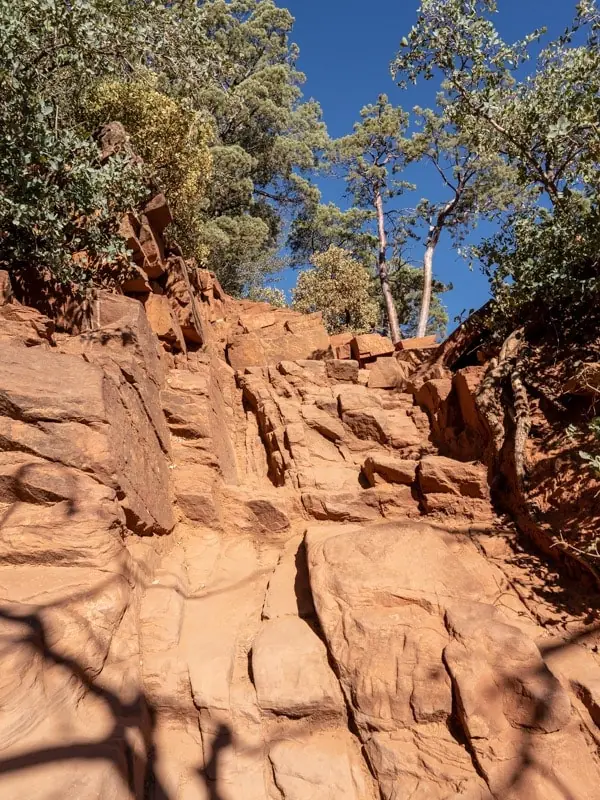
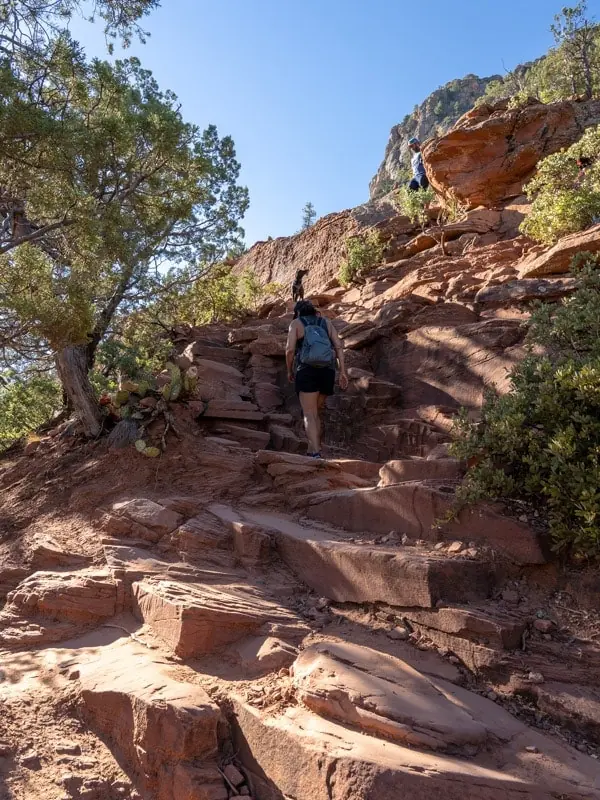
The second half of the trail was the most challenging and steepest as the trail climbed up the mountain. In this section, I encountered several sections of steep, rocky steps which at certain points required me to use my hands. While this section gave me a great workout, it was short and not too difficult.
Respecting the Land
Watch Where You Step
You might see weird, bumpy black stuff on the soil while you are hiking the Mescal or Chuckwagon sections. That is Cryptobiotic Soil. It is alive. Think of it as the glue that holds the high desert together to stop erosion.
Please never step off the trail onto the soil. One footstep can kill this crust, and it takes decades to grow back.
Why the Bridge is Red
The bridge itself is carved from the Schnebly Hill Formation. That is a layer of sandstone from the Permian Period. The deep red color actually comes from iron oxide in the rock. Basically, the bridge is rusting.
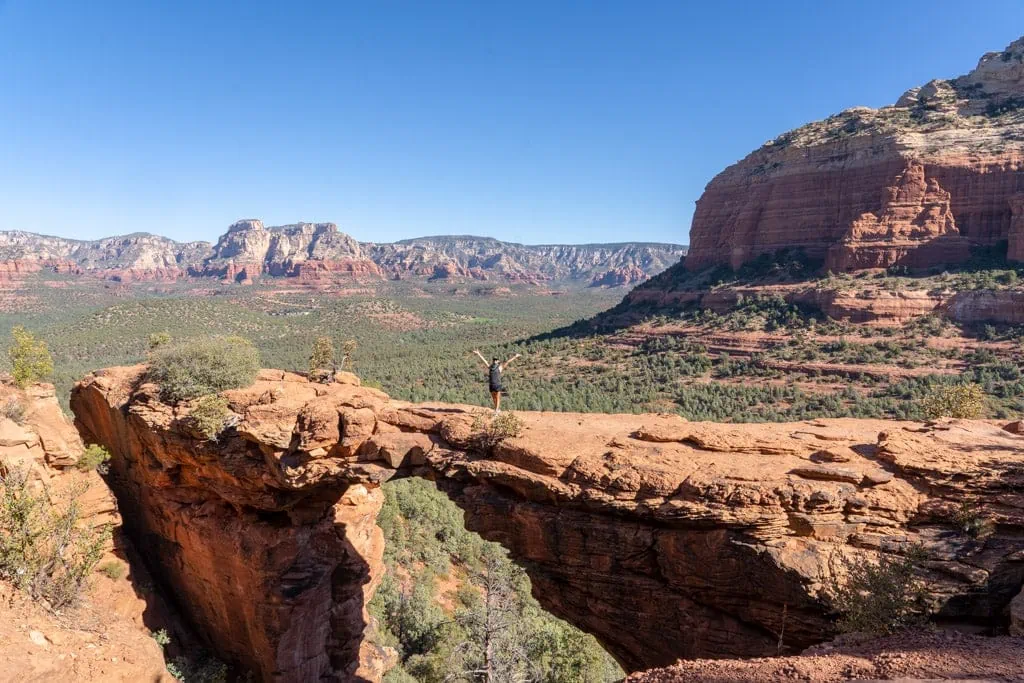
Arrival at Devil’s Bridge
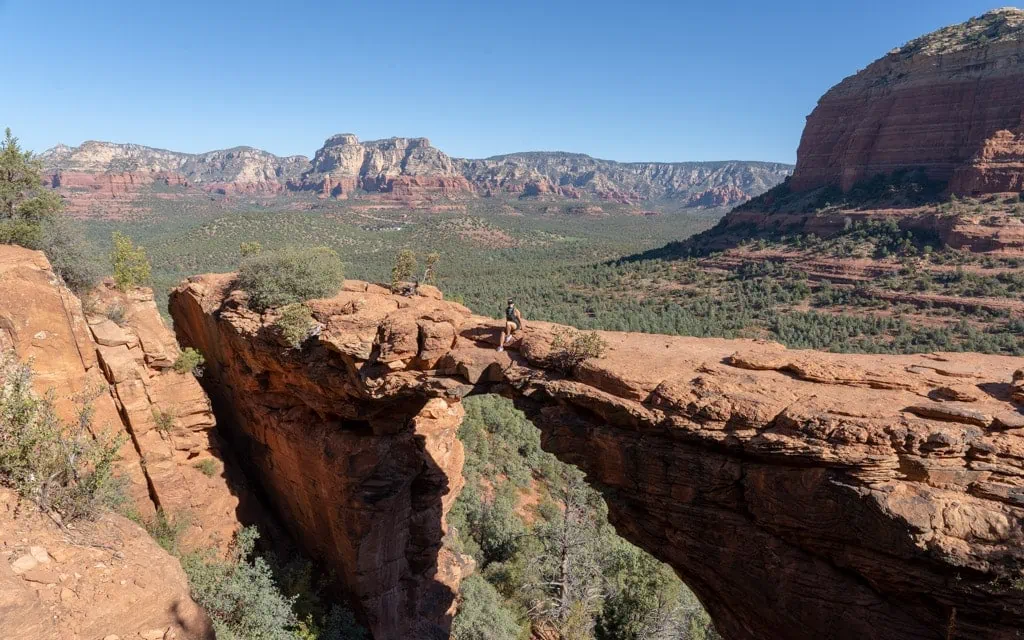
After the quick, steep climb up the trail, I finally made it to Devil’s Bridge. The view of the arch and the surrounding area was breathtaking. It was at this moment I knew it was worth all the trouble of getting up early and taking this hike.
Getting your Photo Taken on Devil’s Bridge
No visit to Devil’s Bridge is complete without taking a photo on top of the largest natural sandstone arch in Sedona. While standing out on the arch might look intimidating, especially for those who have a fear of heights, I promise it isn’t as bad as it looks. The arch is actually wider than you would think. So, make sure to get that special photo.
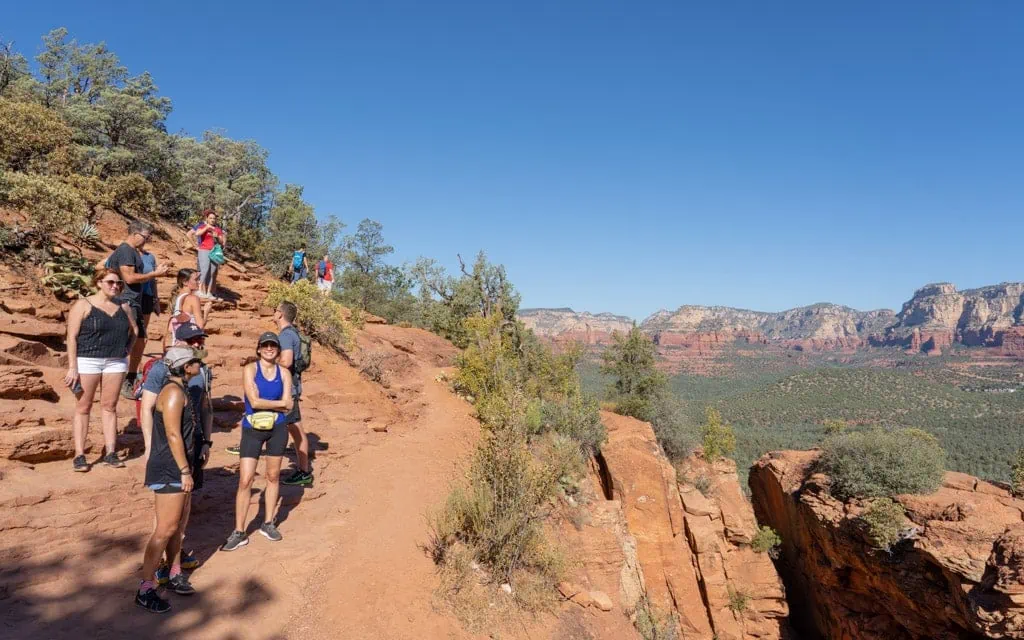
With Devil’s Bridge being so popular, you can always expect there to be a line of people waiting to take photos. On my visit, it wasn’t too busy and the wait was about 15 minutes. The earlier you go, the better chance you will have of a shorter wait. When it is your turn, give your camera or phone to someone you trust. Walk out onto the arch and enjoy the view.
Photography Tip: The bridge looks best in the late afternoon warm light. However, this creates a conflict if you visit in the summer. From July through September, the shuttle often implements restricted hours to reduce heat-related rescues. If you stay for a sunset photo during these months, you may have to walk all the way back to your car without a ride. It is much easier to plan a sunset hike in the spring or fall when the shuttle schedule is more forgiving.
When you are ready to leave, take the same trail back down to the trailhead.
If you are looking for more things to do in Sedona, check out my post on 9 things to do in Sedona on your first visit.
Last Updated on January 11, 2026